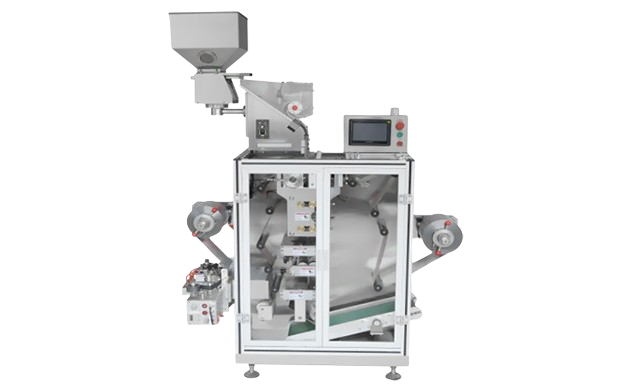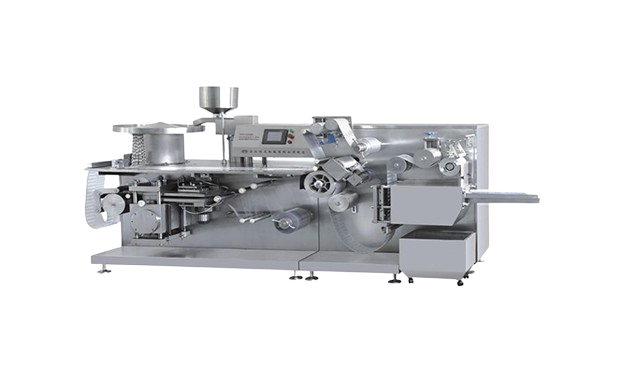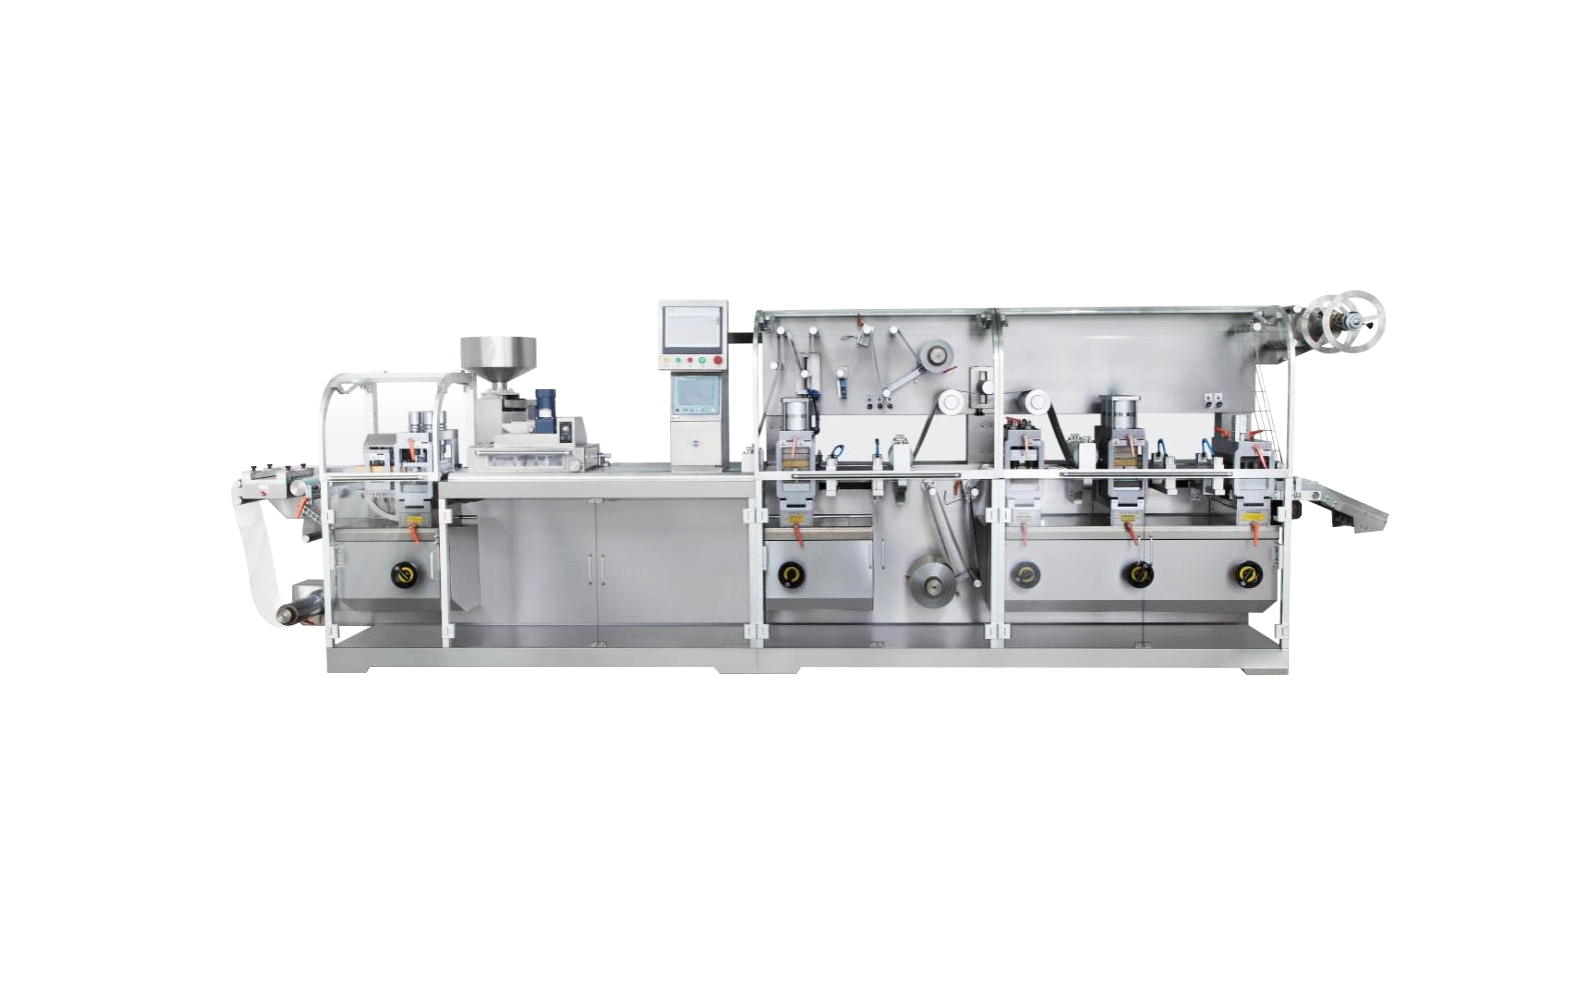
When a capsule filling machine starts producing empty, damaged, or poorly closed capsules, it is easy to blame the machine first.
In practice, the machine is only one part of the problem. Empty-capsule quality, powder flow, room conditions, tooling, cleaning, and operator settings can all affect the final result.
You may also find that one small issue creates several defects at the same time. Poor powder flow, for example, can lead to empty capsules, unstable fill weight, powder leakage, and lower output.
That is why good troubleshooting should follow a clear order. Check the capsules and material first. Then find the station where the problem begins. After that, review the machine settings and mechanical parts.
Here is one useful rule:
Find the first place where the defect appears, not only the place where you finally notice it.
This article covers the most common capsule filling machine problems and explains how to find the likely cause without changing every machine setting at once.
What Usually Causes Capsule Filling Machine Problems?
Most problems come from four areas: the empty capsules, the filling material, the machine setup, or the condition of the machine parts.
Empty-capsule quality
Capsules must keep the correct shape and moisture level. Dented, brittle, soft, or partly locked capsules may not feed, separate, or close correctly.
Storage also matters. Capsules can change when they stay in unsuitable temperature or humidity conditions for too long.
Filling material
Powder flow has a major effect on filling performance. Fine, sticky, damp, or poorly mixed powder may not move evenly through the hopper and dosing system.
Material density can also change during production. This may affect the amount that enters each capsule.
Machine settings and tooling
Vacuum, feeder speed, dosing settings, capsule height, closing pressure, and machine speed all affect the process.
The tooling must also match the capsule size. Even a small alignment problem can cause separation failures, jams, or damaged shells.
Cleaning and part wear
Powder often builds up inside the feeder, dosing parts, capsule segments, and vacuum system.
At first, the machine may continue running. Later, the same buildup may cause weight changes, capsule jams, poor closing, or repeated stops.
Worn guides, seals, hoses, segments, and transfer parts can create similar problems.
Quick Capsule Filling Machine Troubleshooting Guide
| Problem | Common cause | First thing to check |
|---|---|---|
| Capsules do not separate | Damaged capsules, low vacuum, or poor alignment | Check the capsule batch, vacuum, and segments |
| Capsules remain empty | Poor material flow or incorrect dosing settings | Check the hopper, feeder, and dosing parts |
| Fill weight changes | Unstable powder flow or changing material density | Check the material supply and machine speed |
| Capsules do not close | Poor alignment, powder on the rim, or damaged shells | Check the closing station and capsule condition |
| Capsules become damaged | Excess pressure, dirty tooling, or poor positioning | Find the station where damage begins |
| Powder leaks after filling | Overfilling or incomplete locking | Check the fill volume and capsule closure |
| Capsules jam | Incorrect orientation, buildup, or worn parts | Check the feeding track and capsule segments |
| Output is too low | Frequent stops, poor feeding, or slow downstream equipment | Check the complete production process |
SED Pharma’s capsule filling machine range includes semi-automatic and automatic equipment for different capsule materials, sizes, and production levels.

Capsule Feeding and Separation Problems
Feeding and separation problems usually appear at the beginning of the filling process.
You may see capsules entering in the wrong direction, failing to separate, sitting too high in the segment, or causing repeated jams.
These problems often look mechanical, but it is better to check the capsules first.
Start with the empty capsules
Open a new sample and inspect the shells. Look for:
- Dents
- Cracks
- Uneven shapes
- Soft or brittle shells
- Capsules that are already partly locked
A poor capsule batch can cause problems even when the machine settings have not changed.
This is easy to overlook. Operators sometimes spend a long time adjusting the vacuum and tooling before testing another capsule batch.
Check capsule orientation
The machine must place each capsule in the correct direction before separation.
If a capsule enters backward or turns during transfer, it may jam or sit incorrectly in the segment.
Clean the feeding track and inspect it for damaged surfaces. Make sure capsules move freely instead of catching on powder or worn parts.
Check the vacuum system
The vacuum pulls the capsule body away from the cap.
A blocked filter, leaking hose, loose connection, or unstable vacuum can prevent separation.
Check the complete vacuum path rather than only looking at the pressure display. A system may show pressure but still lose suction at the separation station.
Clean the filters and hoses. Then check the vacuum while the machine runs.
Do not simply increase the vacuum. Too much vacuum may damage weak capsule shells or pull them into the wrong position.
Check the capsule segments
The upper and lower segments must match the capsule size.
Powder inside a segment hole can keep the capsule from reaching the correct height. Poor alignment between the segments can also stop the cap and body from separating.
If one position fails more often than the others, mark it. Then inspect the related segment, guide, and transfer parts.
That small step can save a lot of troubleshooting time.
Filling and Weight Control Problems
Many capsule filling machine problems begin before the material enters the capsule.
A hopper may look full, but that does not always mean the powder is moving correctly.
You may still get empty capsules, low fill weights, or large weight changes when the material forms a bridge or moves in uneven amounts.
Check the filling material first
Look at the material before changing the machine.
Ask a few simple questions:
- Does the powder flow freely?
- Are there lumps?
- Does it stick to the hopper wall?
- Has it absorbed moisture?
- Have fine and coarse particles separated?
- Has the bulk density changed?
Fine or cohesive powder may remain above the hopper outlet. Damp powder may form lumps. Material with different particle sizes may separate during transfer.
Any of these changes can affect dosing.
Check the hopper and feeder
Keep the material level within a stable range.
When the hopper changes from nearly empty to completely full, the pressure on the feeding system also changes. This may affect how much powder reaches the dosing parts.
Check whether the material forms a bridge above the outlet. The hopper may appear full while the feeder receives very little powder.
Also inspect the feeder for buildup. Powder can collect around moving parts and reduce the material supply.
This sounds obvious, but it is common to increase the dosing depth while the real problem is an empty feeder.
Check the dosing system
The exact dosing parts depend on the machine design. They may include a dosing disc, tamping pins, auger, or other filling components.
Check that the parts are clean, correctly installed, and free from visible wear.
Loose or worn parts can change the fill volume. Powder buildup can also reduce the space available for each dose.
Do not only increase the filling setting when capsules remain underfilled. If the powder supply is unstable, a larger setting may create even greater weight variation.
Check the machine speed
A machine can only fill capsules as quickly as the material can flow.
When the machine runs too fast, the dosing system may not receive enough material during each cycle.
Try a small batch at a lower speed. If the fill weight becomes more stable, the current production speed may be too high for the formulation.
This does not always mean the machine lacks capacity. The formulation may simply need better material preparation or a different feeding setup.
Automatic inspection can help remove empty or underfilled capsules before packaging. The article on how a capsule inspection system works explains how inspection equipment detects common filling defects.
Closing, Capsule Damage, and Powder Leakage
Problems that appear after filling often have the same root causes.
Overfilling, powder on the capsule rim, poor alignment, unsuitable closing pressure, or weak capsule shells can all affect capsule closure.
Incomplete capsule locking
A properly closed capsule should remain locked during polishing, inspection, transfer, and packaging.
If the cap feels loose or the seam looks uneven, check whether the capsule size matches the tooling.
The cap and body also need to sit at the correct height in the closing station. If one part sits too high or too low, the machine may not lock the capsule fully.
Powder on the capsule rim can cause the same problem. The cap cannot close correctly when material remains between the two shell parts.
This often happens when the capsule is too full.
Dented, split, or cracked capsules
The shape of the damage can tell you where to look.
A dent near the end of the capsule may mean that a guide or closing part presses against the shell.
A crack near the seam may come from:
- Too much material inside the capsule
- Poor closing alignment
- Excess closing pressure
- A dry or brittle capsule shell
- Powder buildup inside the segment
Do not wait until the damaged capsule reaches the discharge area.
Stop the machine and check each stage. Find the first place where the capsule changes shape.
Later machine movements may make the damage look worse and hide the original cause.
Powder leakage
First, find out whether the powder leaks from inside the capsule or only remains on the outside.
If powder escapes through the seam, check the capsule closure and fill volume.
The selected capsule may not have enough space for the target weight. This is especially common when the powder has a low bulk density.
The capsule size chart gives a useful comparison of capsule sizes and approximate filling capacities. However, the actual result still depends on the material.
Fine powder may also spread around the filling and transfer areas. In that case, check the dust-control system and machine seals.
A capsule polisher can remove loose powder from the surface. It cannot fix a capsule that is overfilled or poorly locked.
That difference matters. A clean-looking capsule is not always a correctly closed capsule.

Low Output and Frequent Machine Stops
A capsule filling machine will not reach its maximum listed speed with every product.
In day-to-day production, actual output depends on more than the machine rating.
Material flow, capsule quality, target weight, cleaning, sampling, rejects, and operator adjustments all affect production.
Find where production time is lost
Do not only compare the final output with the machine’s rated speed.
Record why the machine stops.
Common causes include:
- Failed capsule separation
- Frequent capsule jams
- Repeated weight adjustments
- Poor material feeding
- High rejection rates
- Long cleaning times
- Slow product changeovers
- Downstream equipment waiting or stopping
Once you know where the time goes, you can decide whether the problem comes from the machine, material, operating process, or complete line.
Do not increase the speed too quickly
When output drops, the first reaction is often to run the machine faster.
That can backfire.
Higher speed may increase separation failures, weight variation, capsule damage, and unplanned stops. The machine may run faster for a few minutes but produce fewer acceptable capsules at the end of the shift.
A stable medium speed can sometimes produce more usable capsules than an unstable high speed.
Check the downstream equipment
Capsule filling does not end at the filling machine.
The capsules may pass through:
- Capsule polishing
- Metal detection
- Visual inspection
- Weight checking
- Counting
- Bottling
- Blister packaging
A high-speed filler may stop often when the inspection or packaging system cannot keep up.
The capsule production line guide explains how material preparation, capsule filling, inspection, and packaging work together.
Choose the operating speed based on the complete line, not only the maximum speed of the capsule filler.
A Step-by-Step Troubleshooting Process
When several problems appear together, it is easy to change too many settings.
A simple troubleshooting process usually works better.
Step 1: Identify the exact defect
Avoid general descriptions such as “the machine is not working well.”
Write down what actually happens:
- Capsules do not separate.
- Some capsules remain empty.
- Fill weight changes after 30 minutes.
- One machine position jams repeatedly.
- Capsules open after discharge.
A clear description makes the next step much easier.
Step 2: Find where the problem begins
Check the capsule at different stages of production.
For example, a cracked capsule found at the outlet may have been damaged during separation, filling, or closing.
Look for the first station where the defect appears.
Step 3: Check the capsules and material
Before adjusting the machine, test another capsule batch and inspect the filling material.
This step often gets skipped because the machine looks like the obvious cause.
In many cases, however, the machine is reacting to a change in the capsule or formulation.
Step 4: Change one setting at a time
Adjust one parameter, then run a small test.
Do not change the vacuum, feeder speed, dosing depth, closing pressure, and machine speed together.
If the result improves, you need to know which change solved the problem.
Step 5: Run a small test batch
Do not return directly to full-speed production.
Run a small number of capsules and check:
- Separation
- Fill weight
- Capsule closure
- Capsule appearance
- Reject rate
- Machine alarms
Once the result remains stable, increase the production speed gradually.

How to Prevent Repeated Capsule Filling Machine Problems
Solving a problem once is helpful. Preventing it from returning is even better.
Check capsules before production
Confirm the capsule size, shell type, batch, appearance, and storage condition.
Test a new capsule batch before using it for full production, especially when the supplier or shell material changes.
Check the material condition
Inspect the powder or granules before loading the hopper.
Look for moisture, lumps, poor flow, particle separation, or changes in density.
Keep the hopper level stable during production.
Clean the machine at planned intervals
Clean the vacuum system, feeder, dosing parts, capsule segments, and discharge area.
Powder buildup often starts causing problems before it becomes easy to see.
Record approved settings
Keep a clear production record for each product and capsule size.
The record may include:
- Machine speed
- Vacuum setting
- Feeder speed
- Dosing setting
- Closing setting
- Target fill weight
- Normal rejection rate
This gives operators a reliable starting point during the next batch.
Check the machine after every changeover
After changing the product or capsule size, confirm:
- Capsule orientation
- Capsule separation
- Fill weight
- Capsule closure
- Capsule appearance
- Alarm operation
- Reject operation
A short check at startup can prevent a long stop later.
When Should You Contact the Machine Supplier?
Routine cleaning and setting adjustments can solve many capsule filling machine problems.
However, some problems need supplier support.
Contact the supplier when:
- The same machine position repeatedly jams.
- Capsules continue to break after normal alignment checks.
- The vacuum remains unstable after cleaning.
- Several capsule batches fail to separate.
- The dosing system cannot keep the fill weight stable.
- The machine produces unusual noise or vibration.
- A new tooling set does not align correctly.
- A replaced part creates a new problem.
- Operators cannot inspect the machine safely.
Provide clear information when you ask for technical support.
| Information | Details to provide |
|---|---|
| Machine | Model, serial number, and operating time |
| Capsule | Size, shell material, supplier, and batch |
| Product | Powder, granules, pellets, or a combination |
| Fill target | Required weight per capsule |
| Problem | What happens and where it starts |
| Frequency | Every capsule, one station, or occasional |
| Settings | Machine speed, vacuum, feeder, dosing, and closing settings |
| Recent changes | New capsules, material, tooling, cleaning, or replaced parts |
| Evidence | Photos, videos, alarms, and sample results |
A short video can often explain the problem better than a long message.
Send the details through contact our team so the technical team can review the machine, material, capsule, and operating conditions together.
Frequently Asked Questions
Why does my capsule filling machine leave some capsules empty?
Poor powder flow, a low hopper level, blocked filling parts, or incorrect dosing settings can leave capsules empty. Check whether the material reaches the dosing system evenly before increasing the fill amount.
Why does capsule fill weight change during the batch?
The powder may settle, separate, absorb moisture, or change density. An unstable hopper level, worn dosing parts, or excessive machine speed may also cause weight variation.
Why do the capsule cap and body fail to separate?
Check the capsule condition, vacuum filters, hoses, connections, capsule segments, and tooling alignment. Testing another capsule batch can also help identify whether the problem comes from the shells.
Why do filled capsules open after discharge?
The capsule may not be fully locked. Check the capsule size, tooling, fill volume, closing station, closing pressure, and powder around the rim.
Can a capsule polisher stop powder leakage?
A polisher removes loose powder from the capsule surface. It cannot solve overfilling, incomplete locking, cracked capsules, or powder leaking through the seam.
Should I increase the machine speed when output is low?
Not immediately. A higher speed may cause more jams, weight variation, damaged capsules, and rejects. First find where production time is being lost.
Conclusion
Capsule filling machine problems rarely come from only one place.
The capsules, filling material, vacuum, tooling, machine settings, cleaning, and downstream equipment all affect the final result.
Start with the basics. Check the capsules and material first. Then find the station where the defect begins. Change one setting at a time and run a small test before returning to normal production.
This approach may sound slower than adjusting several settings at once. In practice, it usually saves time because it helps you find the real cause instead of creating a new problem.